Campaigns

Campaigns are the content displayed on Neonews Studio terminals. They can be made up of images, videos, news, weather forecasts, web pages, live broadcasts, and other formats supported by the platform.
This tutorial shows how to create an Image or Video campaign using both the drag-and-drop method and the conventional method.
Method 1 - Drag and Drop
Open campaigns
- In the Studio main menu, click CAMPAIGNS.
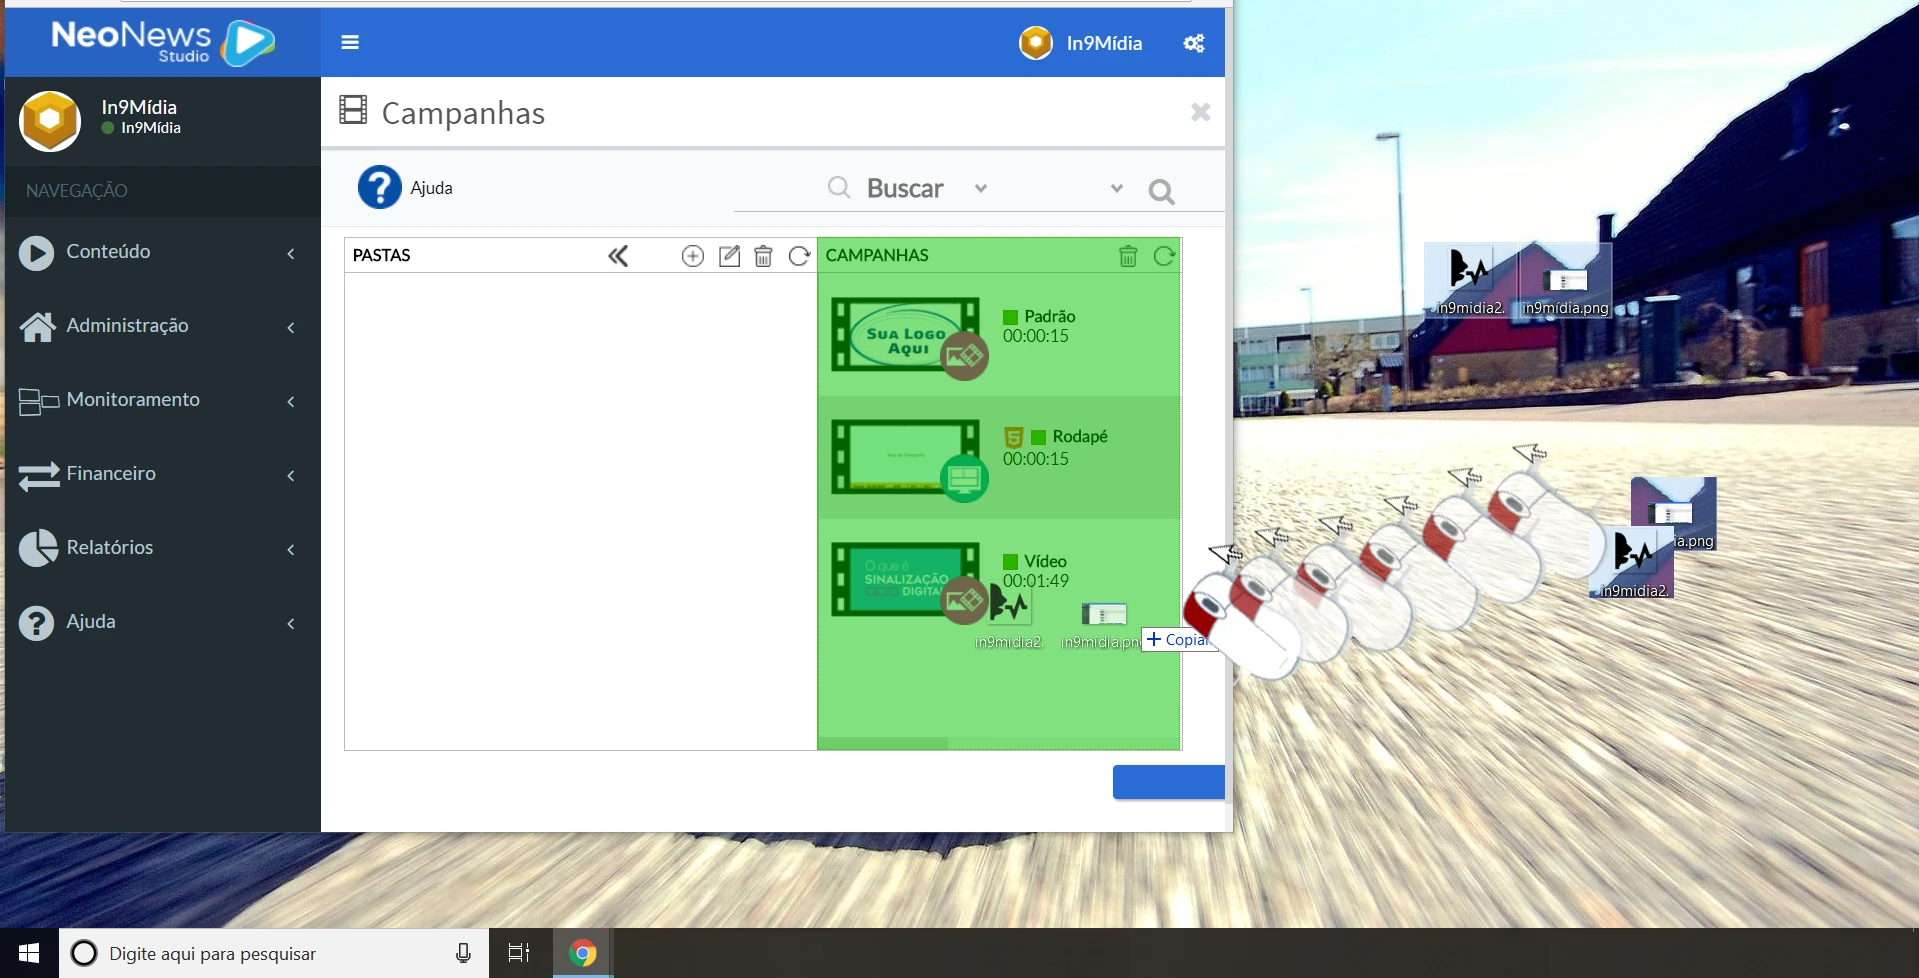
- Select an image or video on your computer and drag it to the area indicated by the platform.
Send file
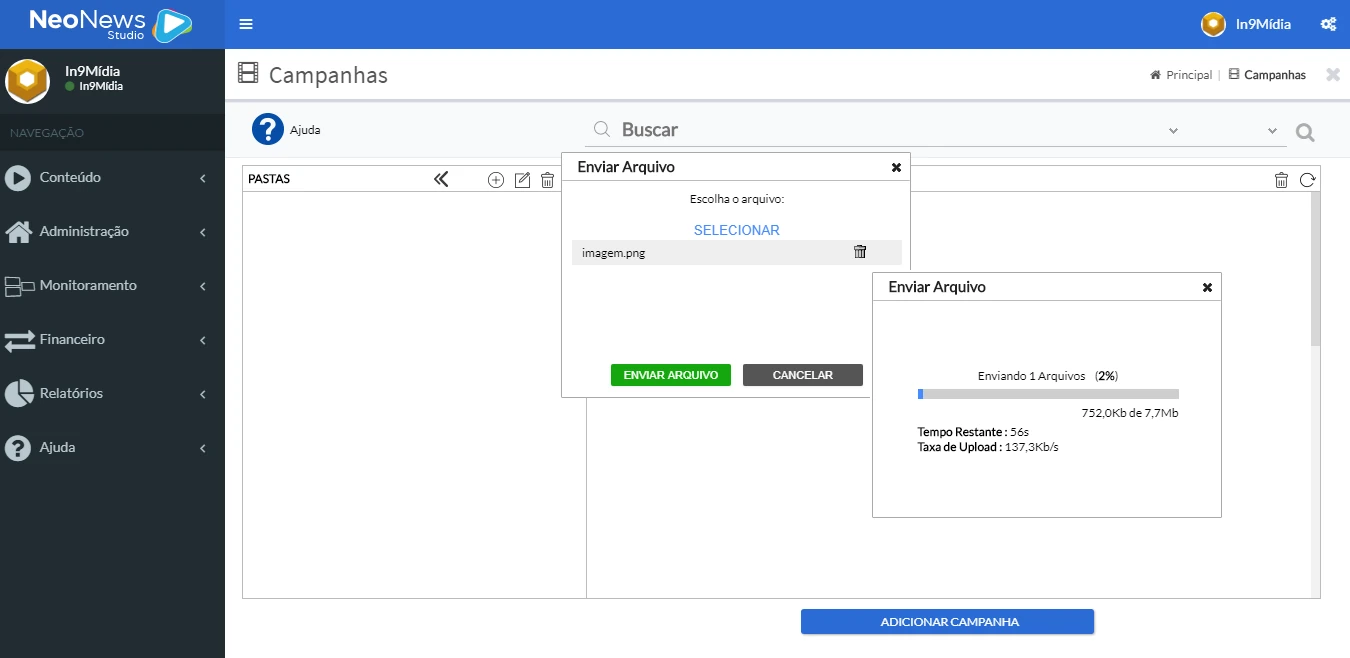
- Click SEND FILE and wait for the upload to finish.
- The required time depends on the file size and the internet connection speed.
Confirm upload
- After the upload finishes, the file will appear in the campaign directory.
Method 2 - Conventional creation
Add campaign
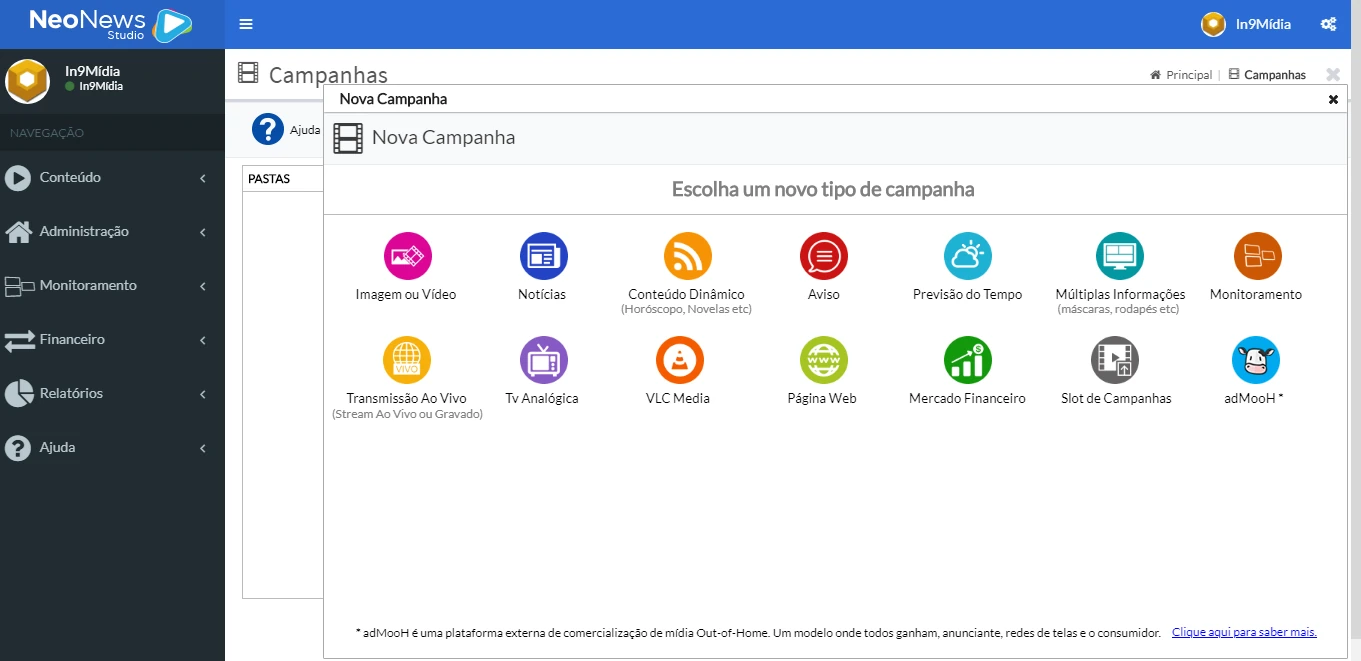
- Click ADD CAMPAIGN.
- In the list of available types, select Image or Video.
Enter name and duration
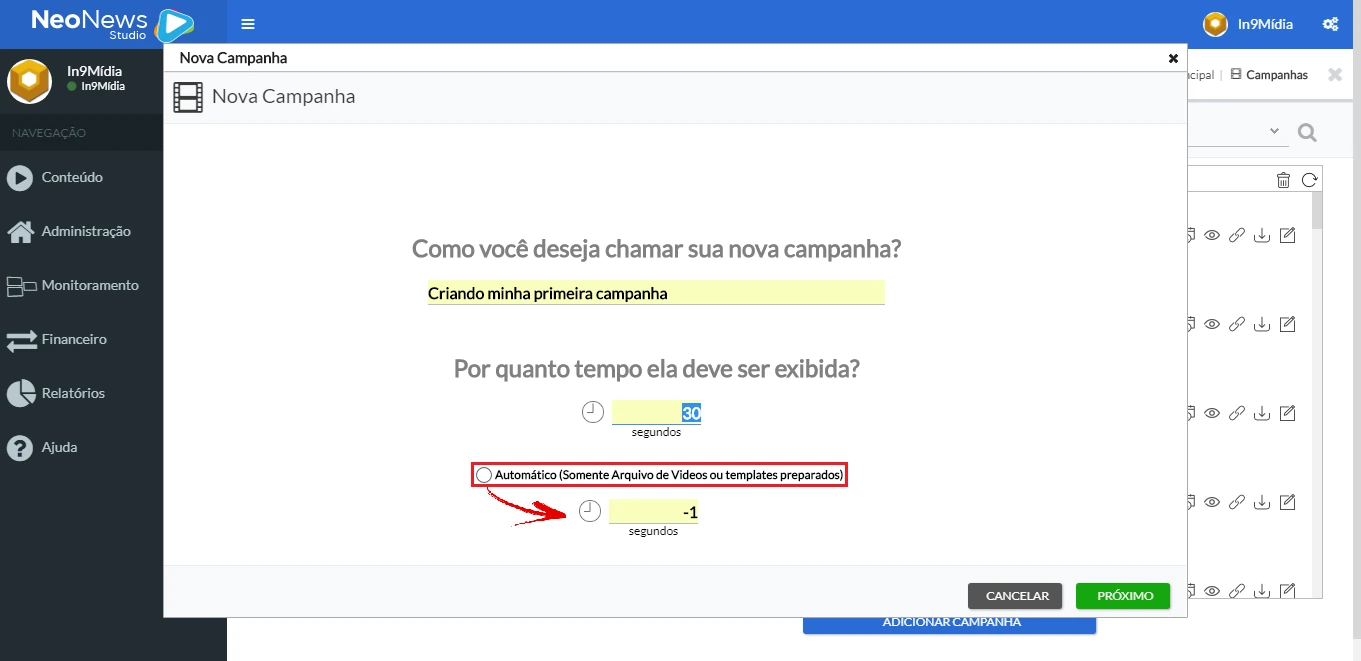
- Use a name that makes it easy to identify the campaign later.
- Standardize the display time. The ideal minimum is 8 seconds.
For images
Enter the display time in seconds.
Example:
15 seconds
For videos
Check Automatic or enter:
-1
That way, the video will play in full. After filling in the information, click NEXT.
Choose a template
- Image or Video campaigns are displayed full screen.
- Keep the default template:
Image or Video - FLASH - Standard I - Full Screen
Click NEXT.
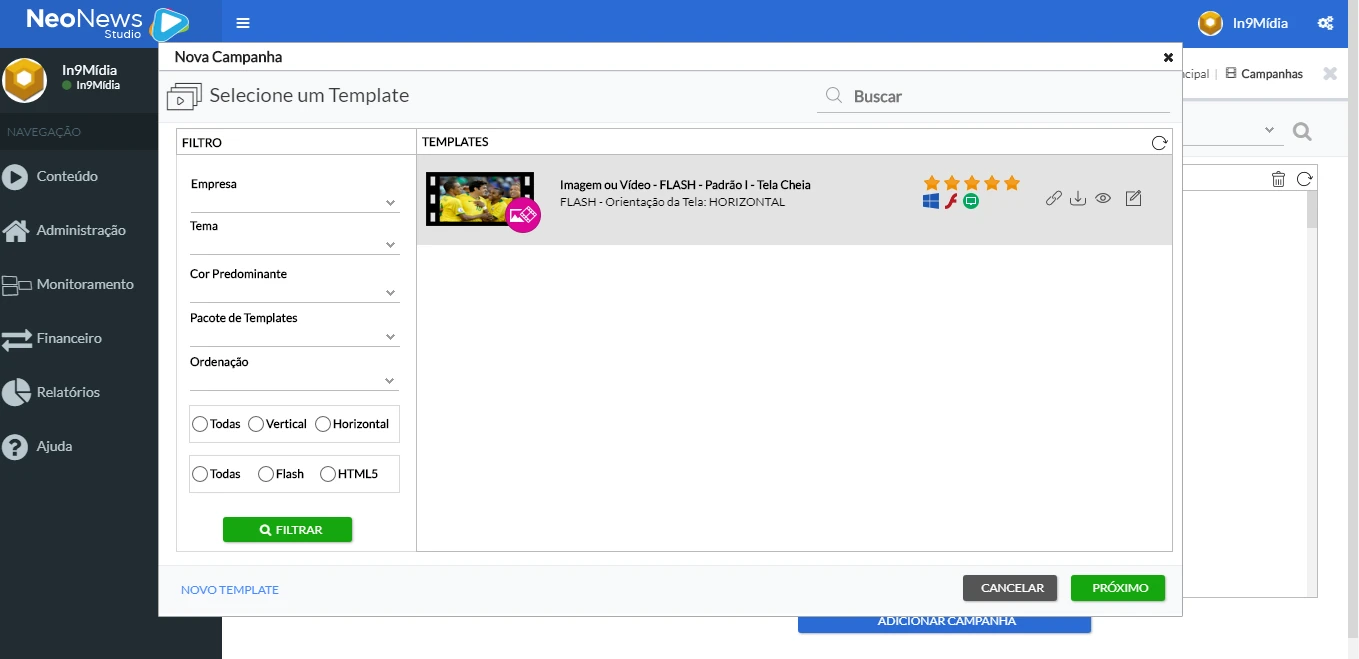
Associate file with campaign
There are two options:
-
Select Existing File
-
Upload New File
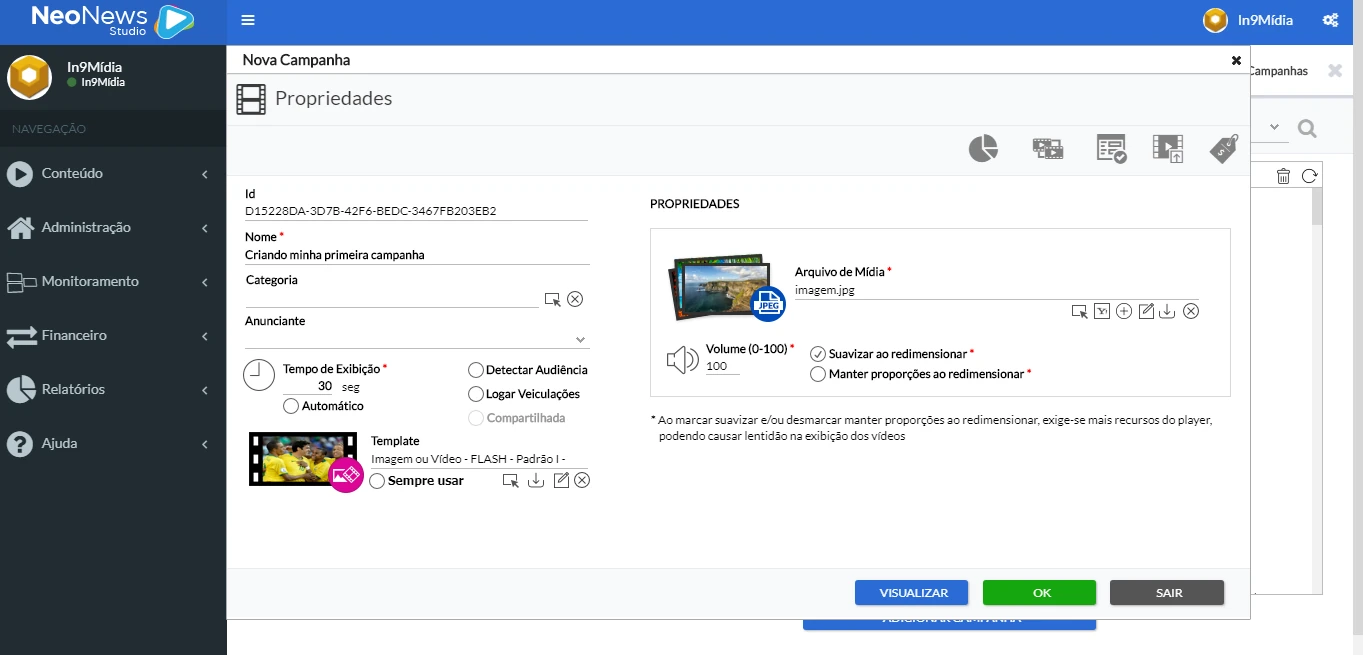
Select file
If you choose:
Existing file
Select one of the already registered files.
New file
- Click SELECT
- Choose the desired file
- Confirm the upload
After selection, the thumbnail and file name will be shown on the screen.
Preview campaign
- Click the file thumbnail to preview the content.
- Although this is not mandatory for full-screen campaigns, it allows you to validate the material before publishing.
Close preview
After checking the content:
- Close the preview window.
- Click OK to continue.
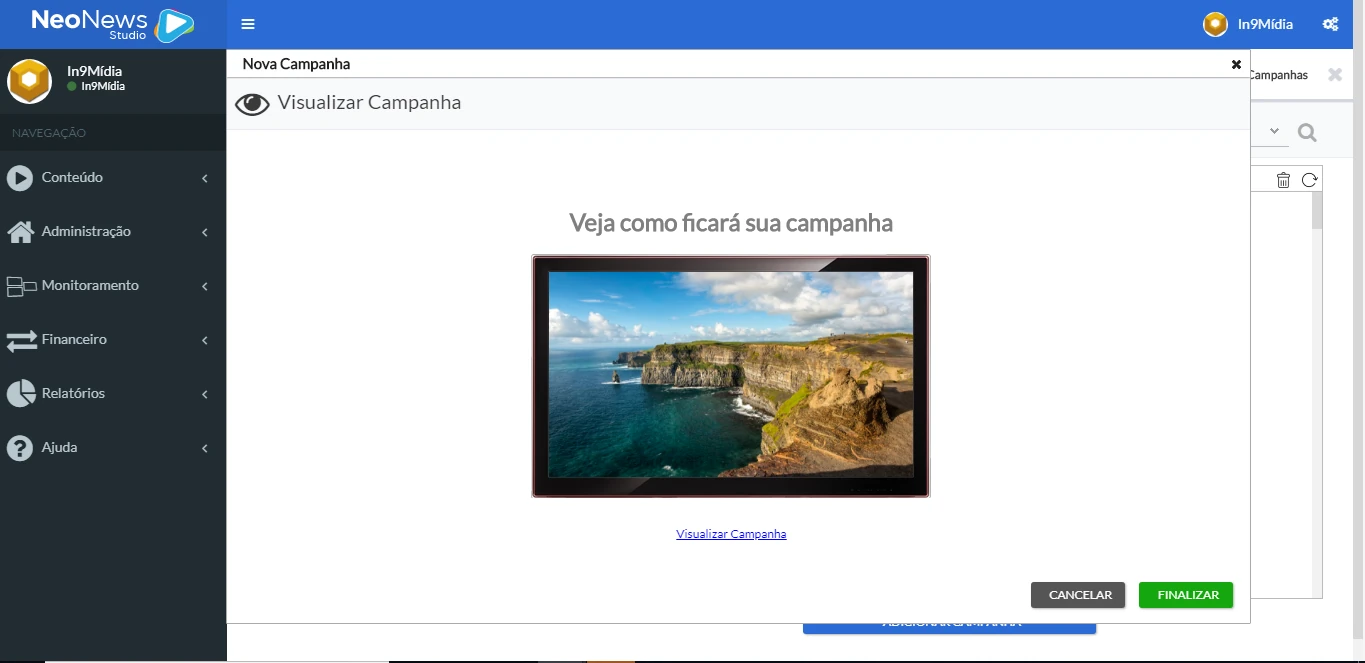
Finish campaign
- The next screen will show another preview.
- Click Preview Campaign
- If everything is correct, click FINISH
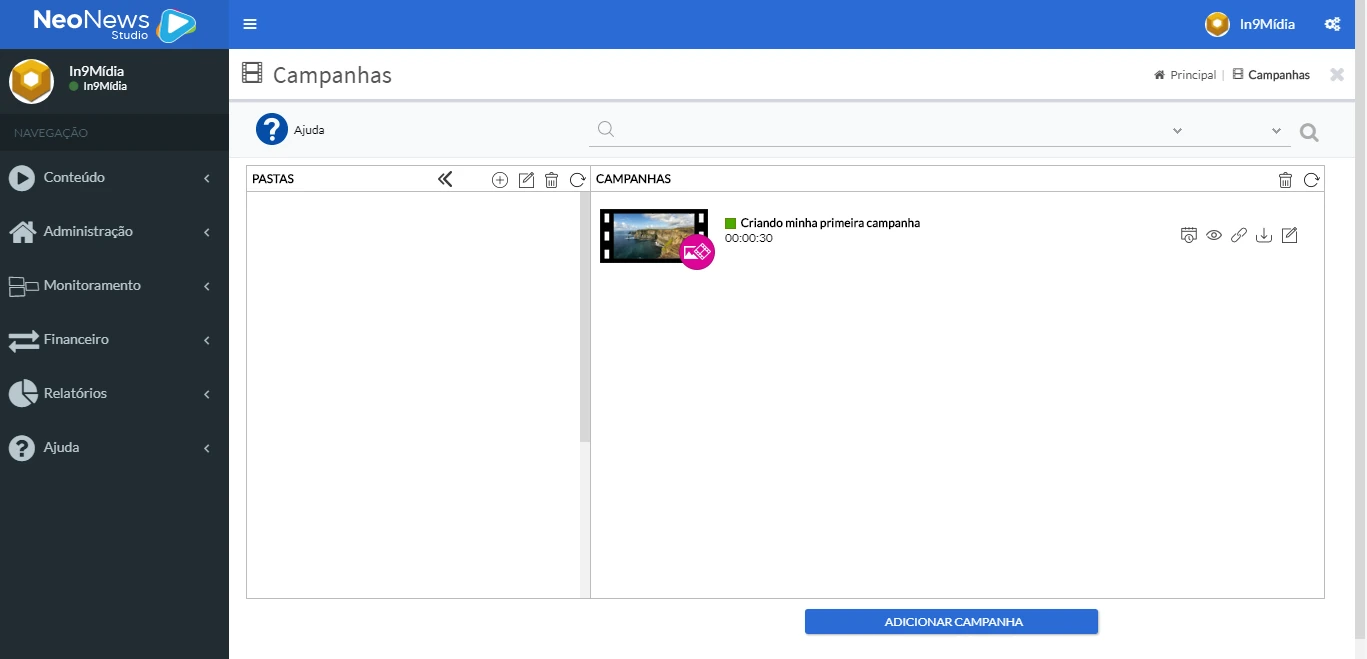
Campaign created
After finishing, the campaign will appear in the list with:
- Thumbnail
- Name
- Type
- Display time
Best practices
- Use standard names to make organization easier.
- Prefer high-resolution images (1920x1080 - Full HD).
- Use optimized videos to avoid excessive upload times.
- Always review the preview before finishing.